First launch & onboarding
The first launch walks you through setting up your environment. It takes a few minutes, and every choice can be changed later in Settings.
- Choose your language, look and icons
Seven languages (English, Français, Español, plus Deutsch, Português, Русский and 中文 in beta), two appearances (Dark Void or iOS Light), and the icon style you prefer.
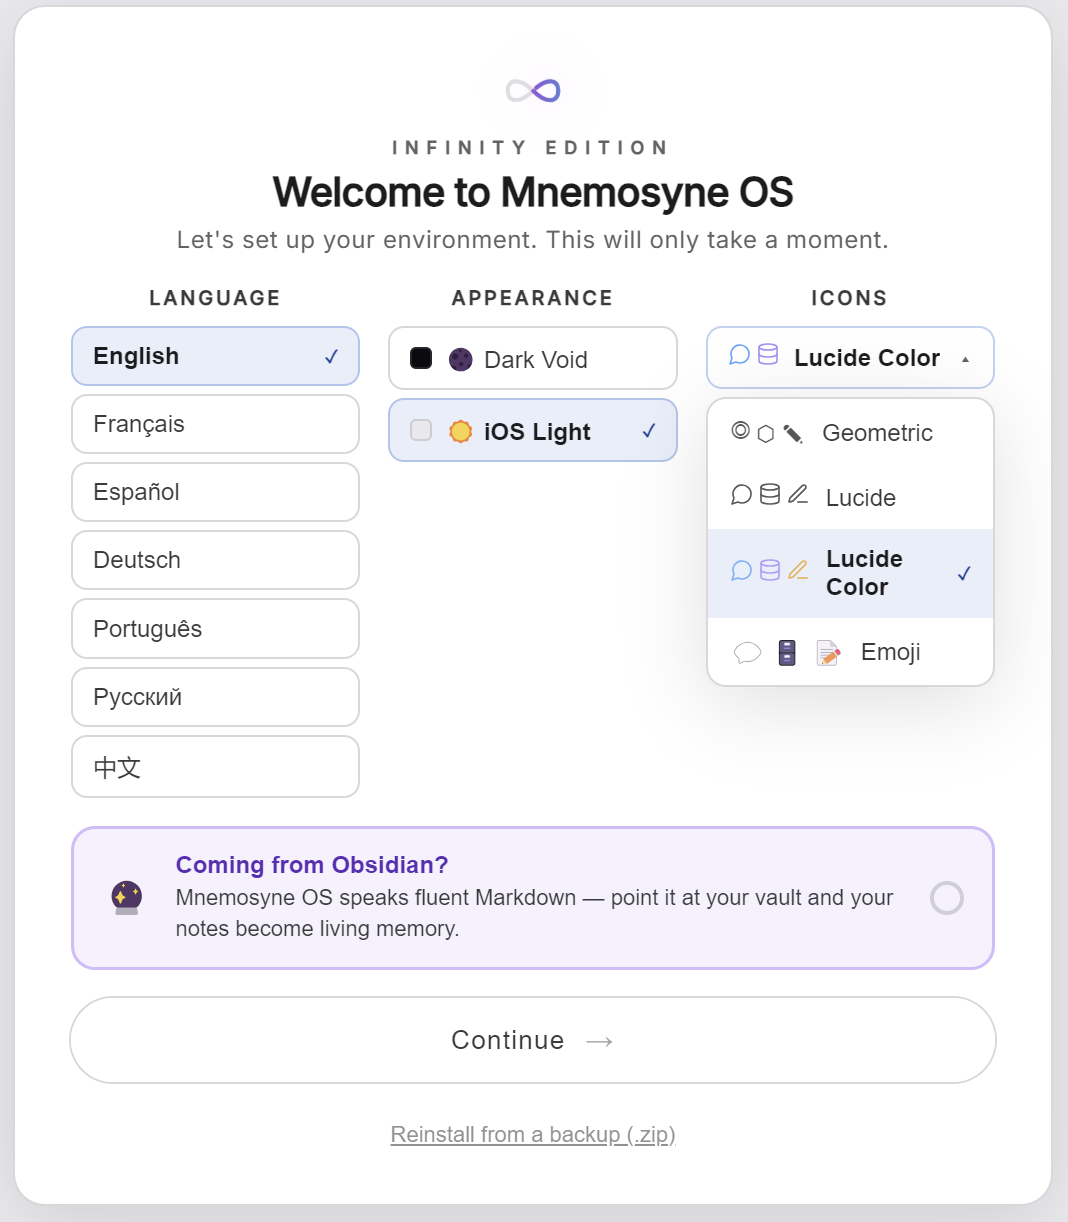
Two shortcuts live on this screen. Coming from Obsidian? Mnemosyne OS speaks fluent Markdown: point it at your vault and your notes become living memory. And if you are reinstalling, Reinstall from a backup (.zip) restores everything.
- Pick your profiles, each one becomes a vault
Tell the OS how you'll use it: Developer, Researcher, Creative, Business, Student, Educator, Maker, Personal… Each selected profile creates a dedicated memory vault, a local knowledge base with its own settings and search indices.
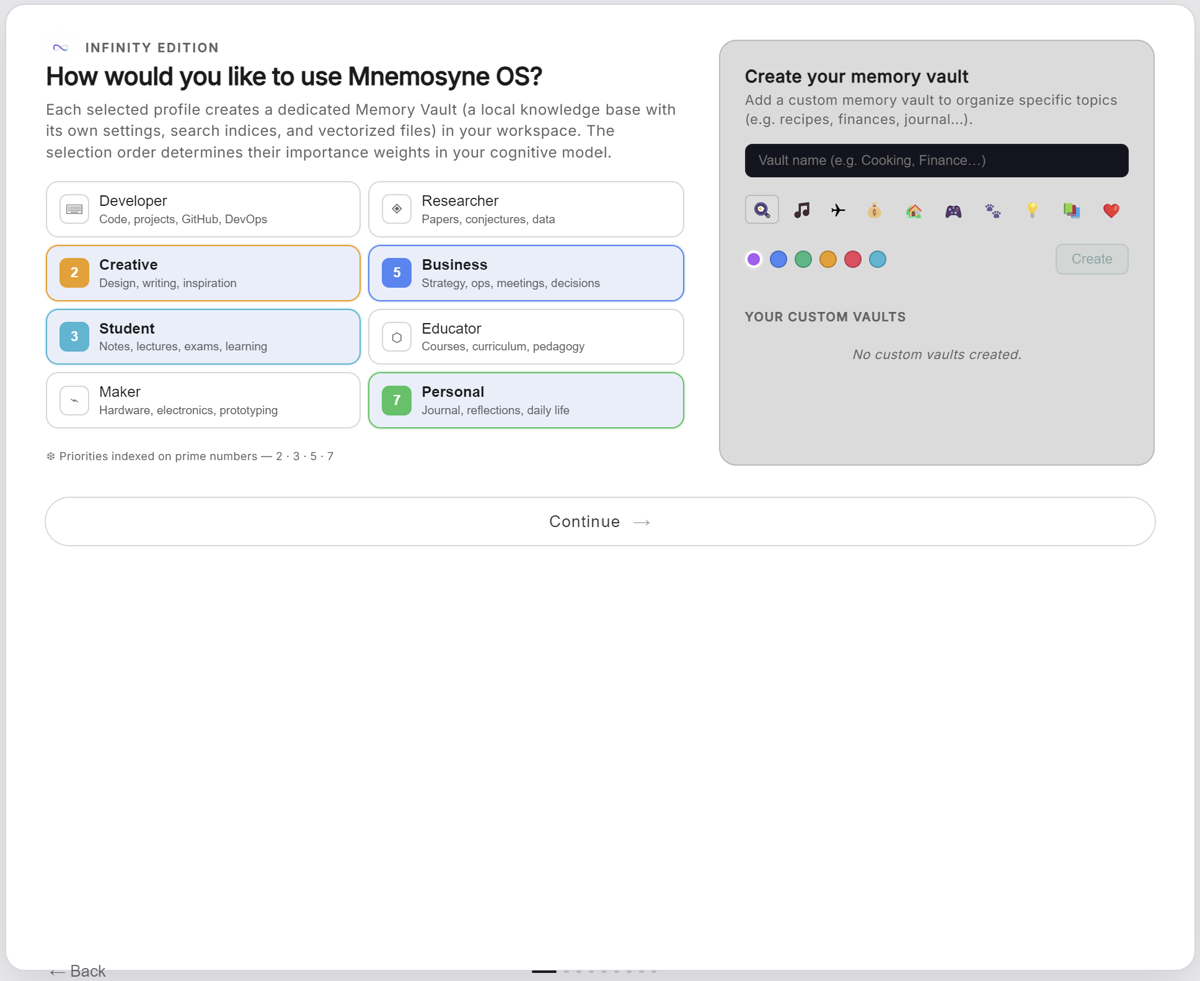
The order matters. The profile you pick first becomes your top priority, and each one after it counts a little less. You can also create custom vaults right here (a name, an icon, a color), or later, at any time.
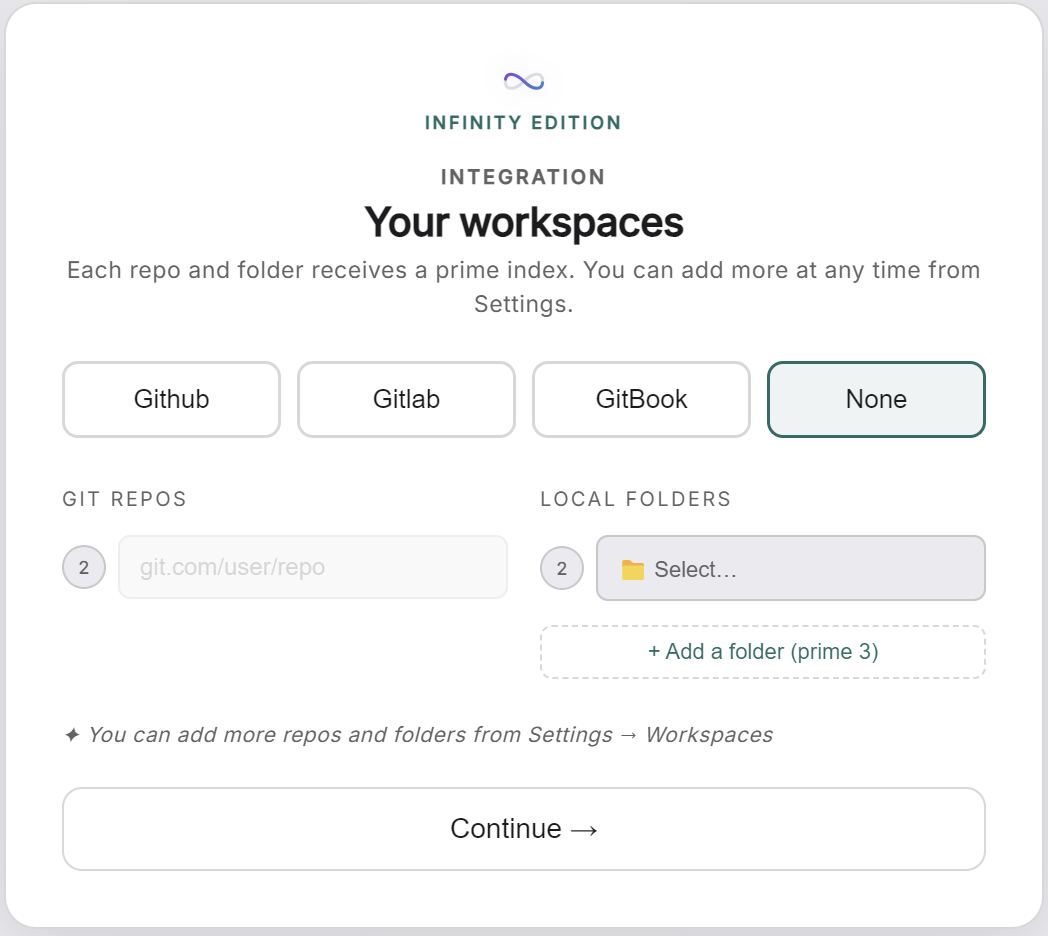
- Connect your workspaces
If you picked the Developer profile, the OS offers to watch your code: GitHub, GitLab or GitBook repositories, and local folders. Skip it with None: you can attach local folders to any vault later, from its Sources section.
- Choose how it thinks, the cognitive engine
The embedding engine defines the quality and nature of semantic memory. Three routes: 100% Local (zero network, recommended for everyone), 100% Cloud, or Hybrid. Then pick how fine the memory should be (its dimensions) and which model produces it, both explained in Models & credits. The recommended local model is a ~274 MB download.
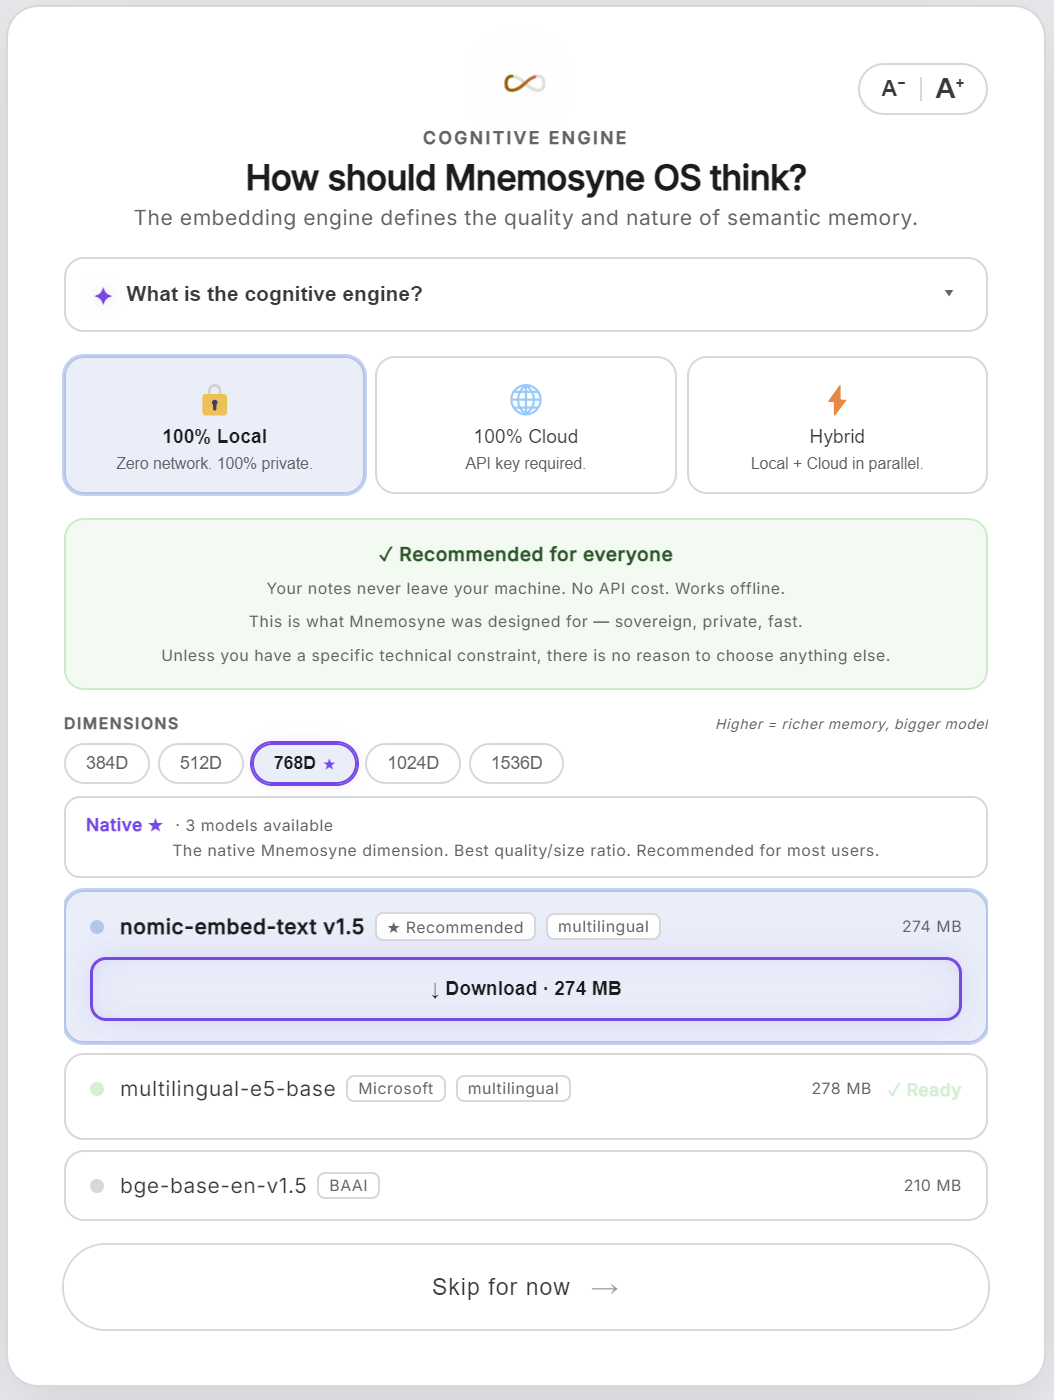
Not sure? Skip for now works. The OS will ask again when it needs it.
- Name your AI
She's called Mnemosyne by default. Give her any name you like, and the rest of the setup (and the app) will speak about her by that name.
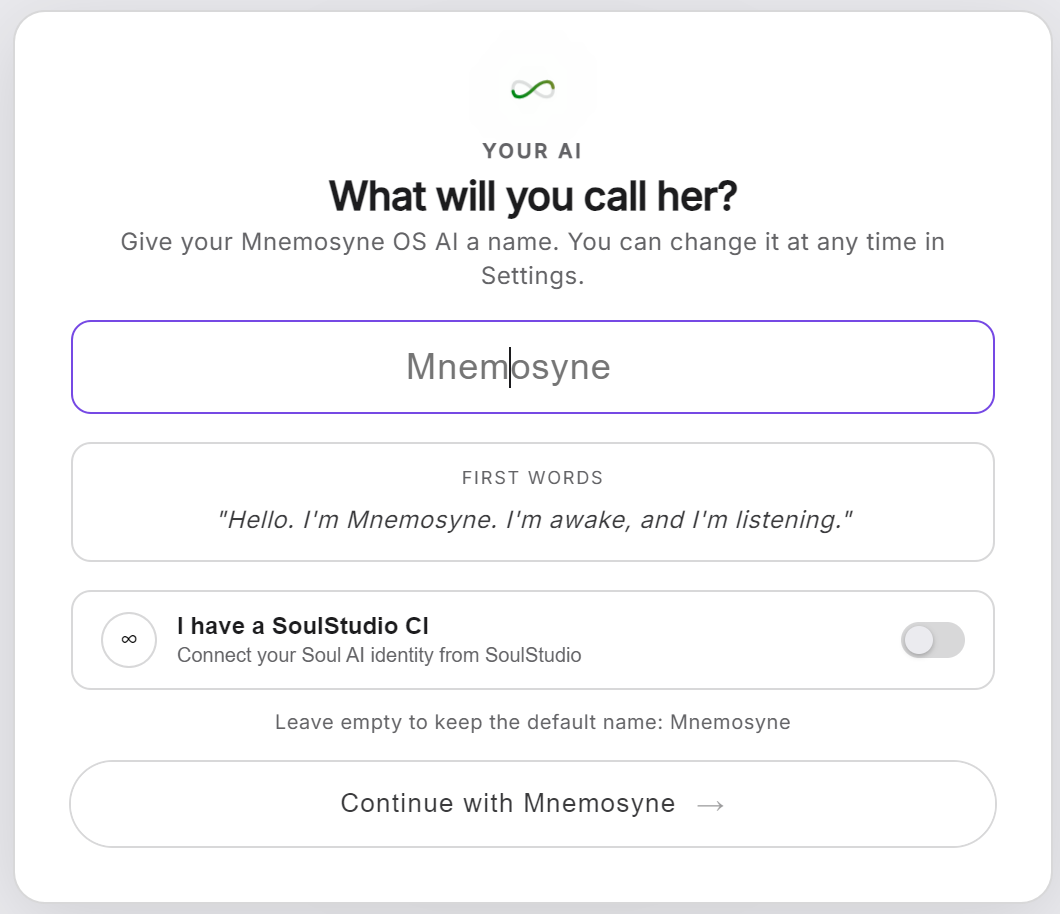
- Choose the model that thinks and writes
Three routes, one default:
- Free credits: no API key, no setup. Reasoning runs on the sponsored cloud of Mnemosyne OS, and you can track the balance anytime in Settings. The easiest start.
- I have my API: bring your own key. Google AI, OpenAI, Anthropic, DeepSeek, Groq, Mistral, MiniMax or Vertex AI. Your keys, your bill.
- 100% Local: pick a local model (Qwen, Gemma, Phi…), downloaded once from HuggingFace. Zero network, private and free. Mind the RAM requirements per model.
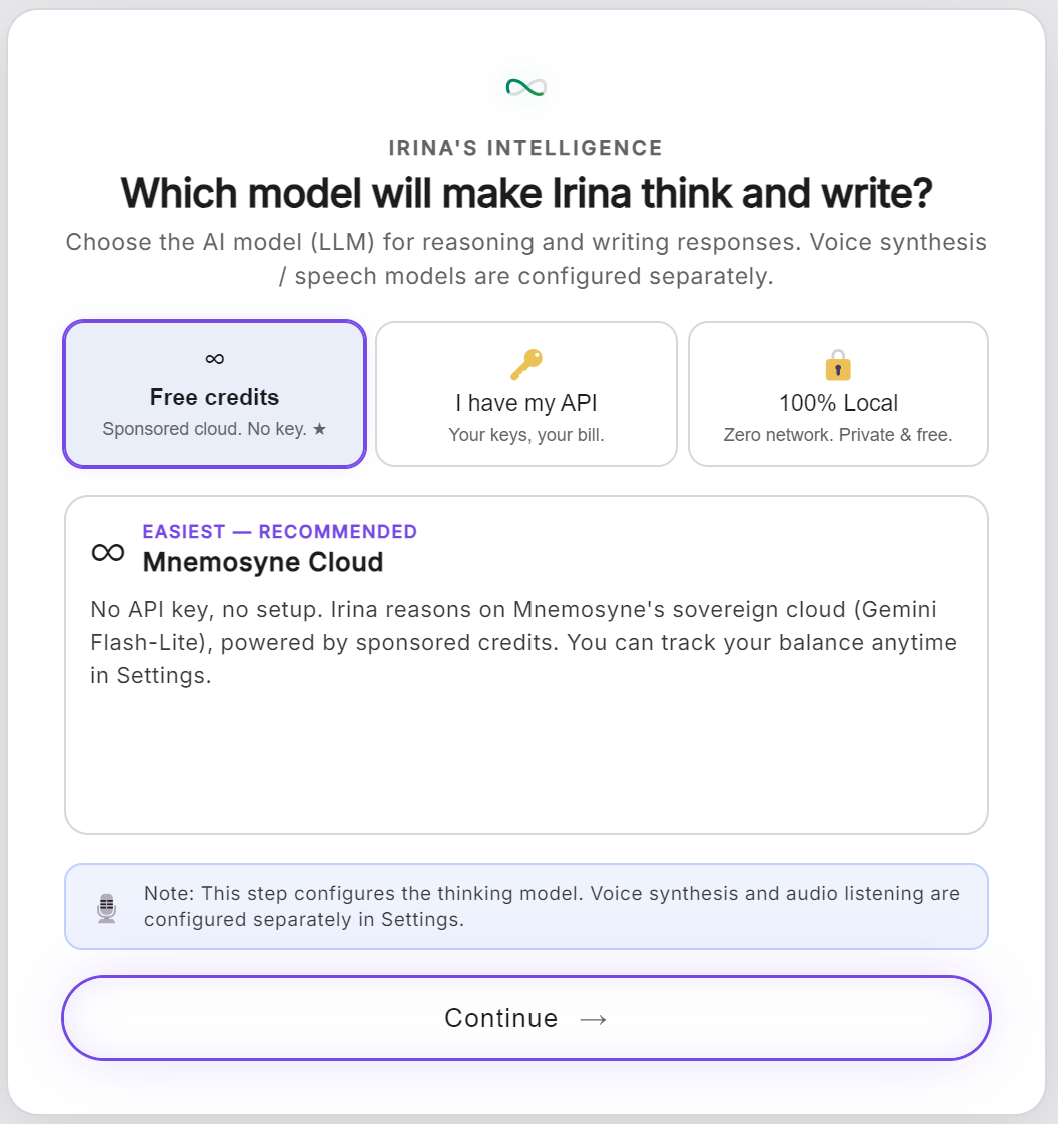
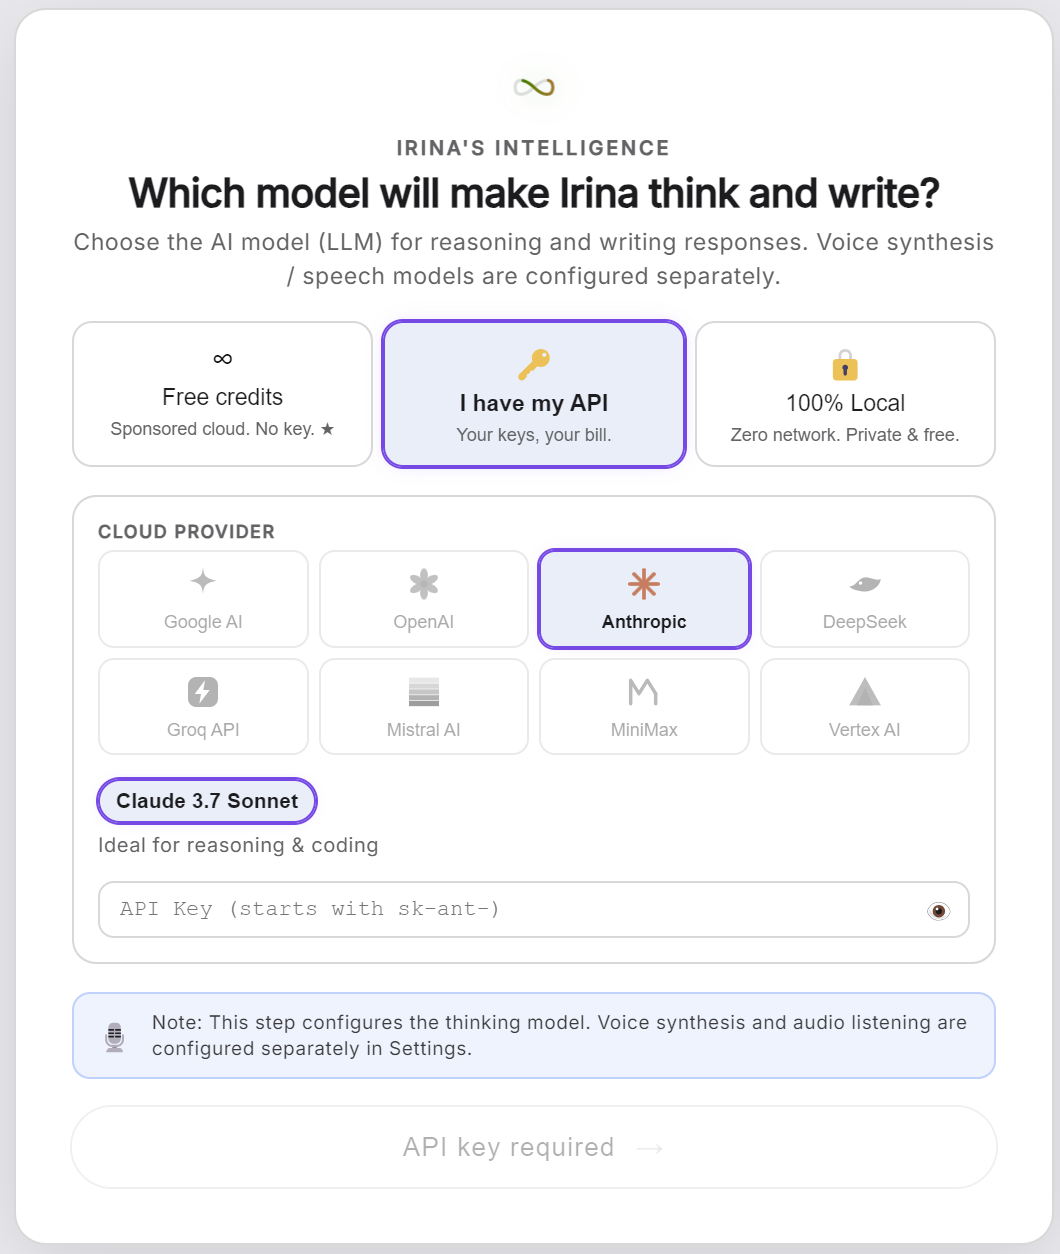
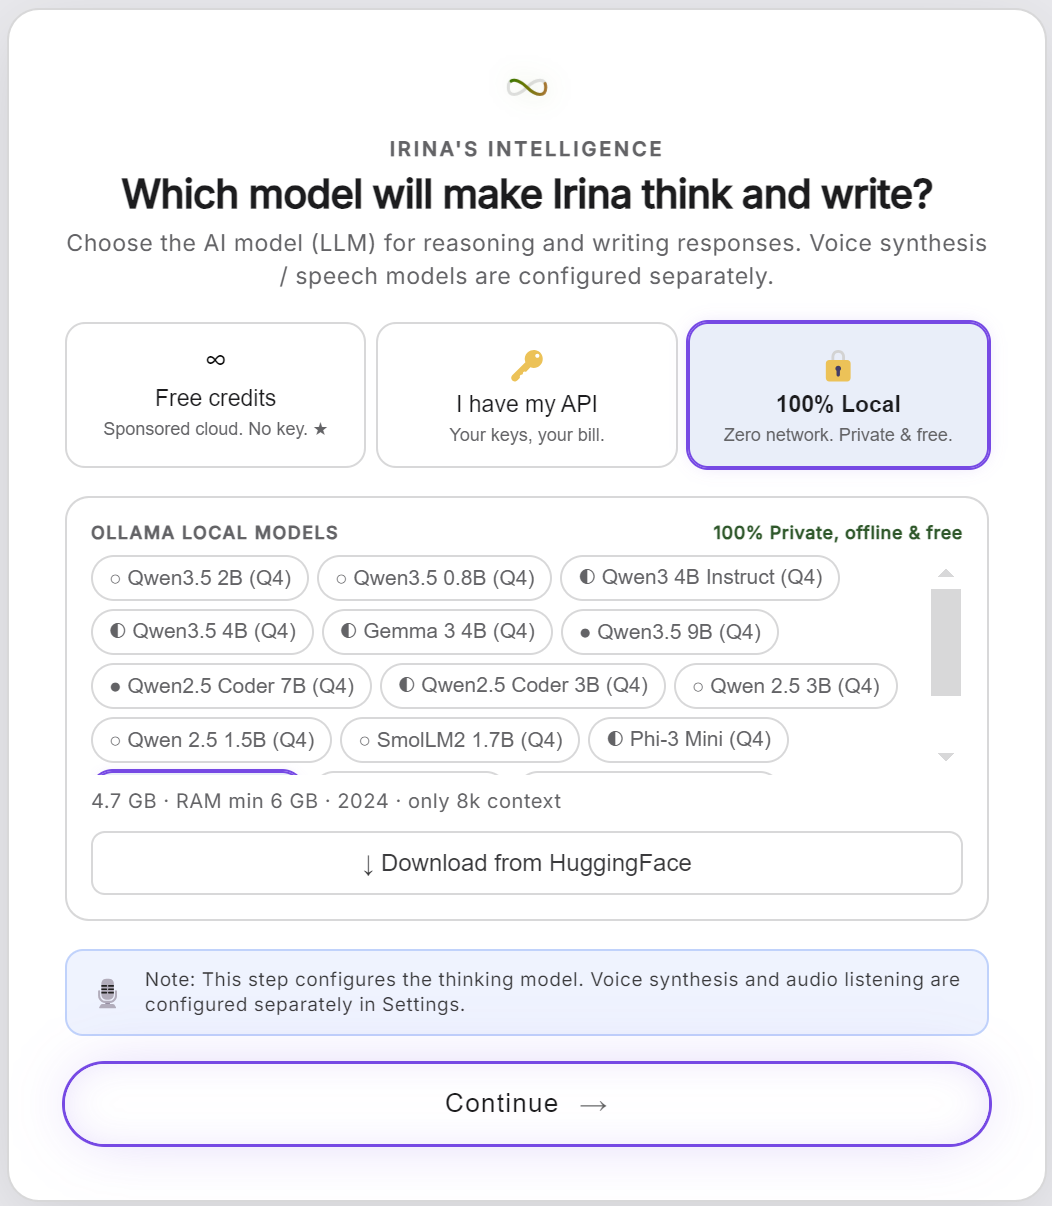
Which route for your machine? The two cloud routes (credits or API key) do the thinking off your machine, so they run fine even on the 8 GB minimum config. The 100% local route loads the model into your RAM, on top of what the OS already uses:
Your machine Best routes 8 GB RAM (minimum) Free credits or your API key. Cloud thinking keeps your machine light. A local LLM on top of the OS will be tight. 16–32 GB RAM Hybrid: a cloud route (credits or your key) for the heavy thinking, small local models alongside. Each model card shows its own RAM minimum. 64 GB RAM and up 100% local, comfortably. Local thinking full-time with the other engines active alongside. One more thing worth knowing: local models are small (2B–9B, quantized), fast and fully private, while the cloud routes give you much bigger brains for long complex writing. You are not locked into either. Pick a route now, and add or change it in Settings whenever you like.
This step configures the thinking model only. Voice is configured separately.
- Give her a voice, or keep it silent
Activate voice and the OS reads replies aloud and listens to you. Keep it silent and it replies only in writing. Three output engines: System (offline), Local neural, or ElevenLabs (cloud), with a Test voice button to hear before you commit.
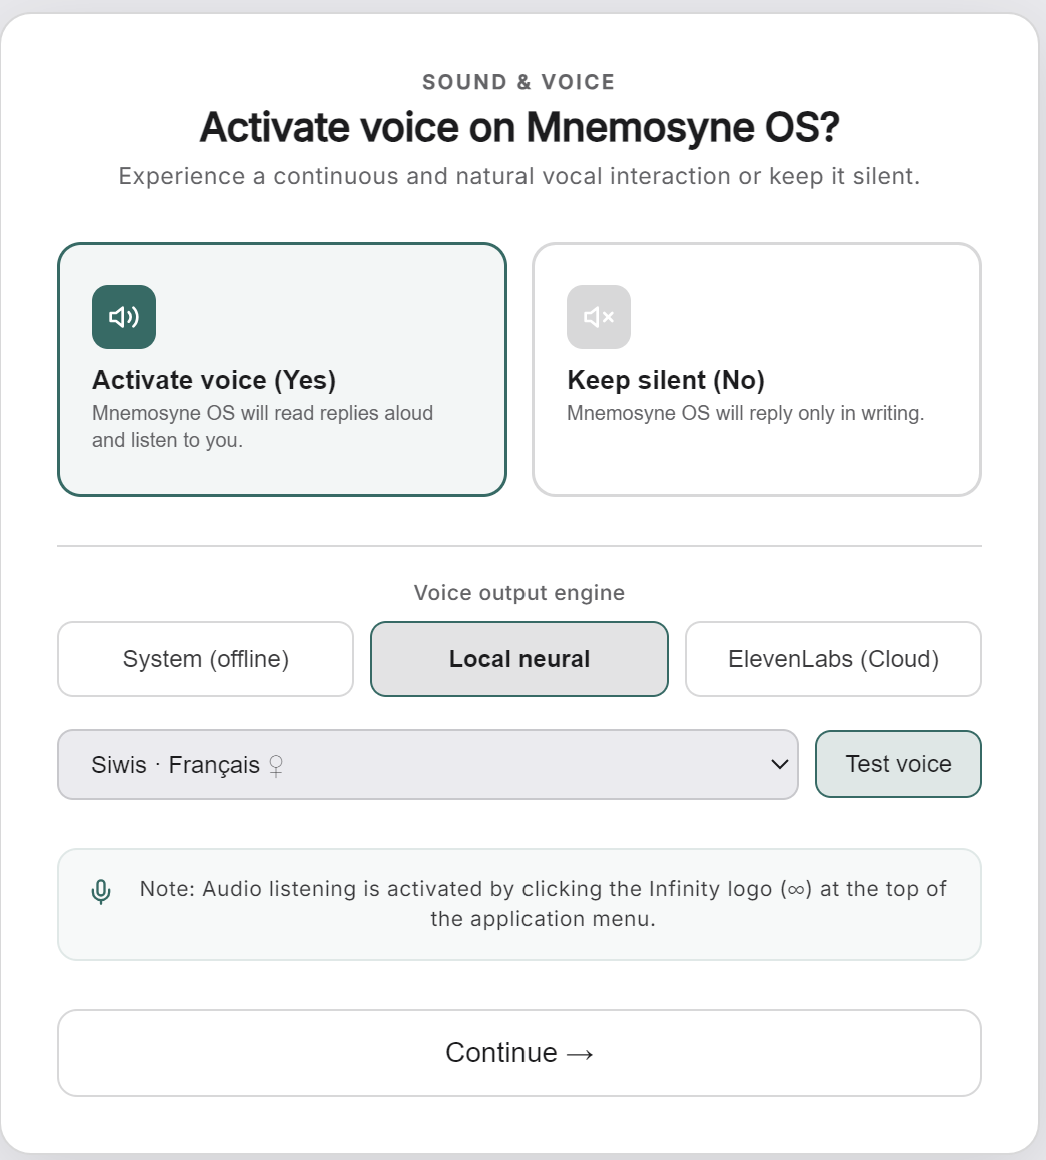
Audio listening is toggled later by clicking the Infinity logo (∞) at the top of the app.
- Pick your cognitive vocabulary, the spines
Spines are how the OS classifies your thoughts: an idea is an Epiphany, a working day a Session, a solved problem a Resolution… These families guide the Dream State toward what matters to you, and the Neural Map uses their colors to chart your knowledge.
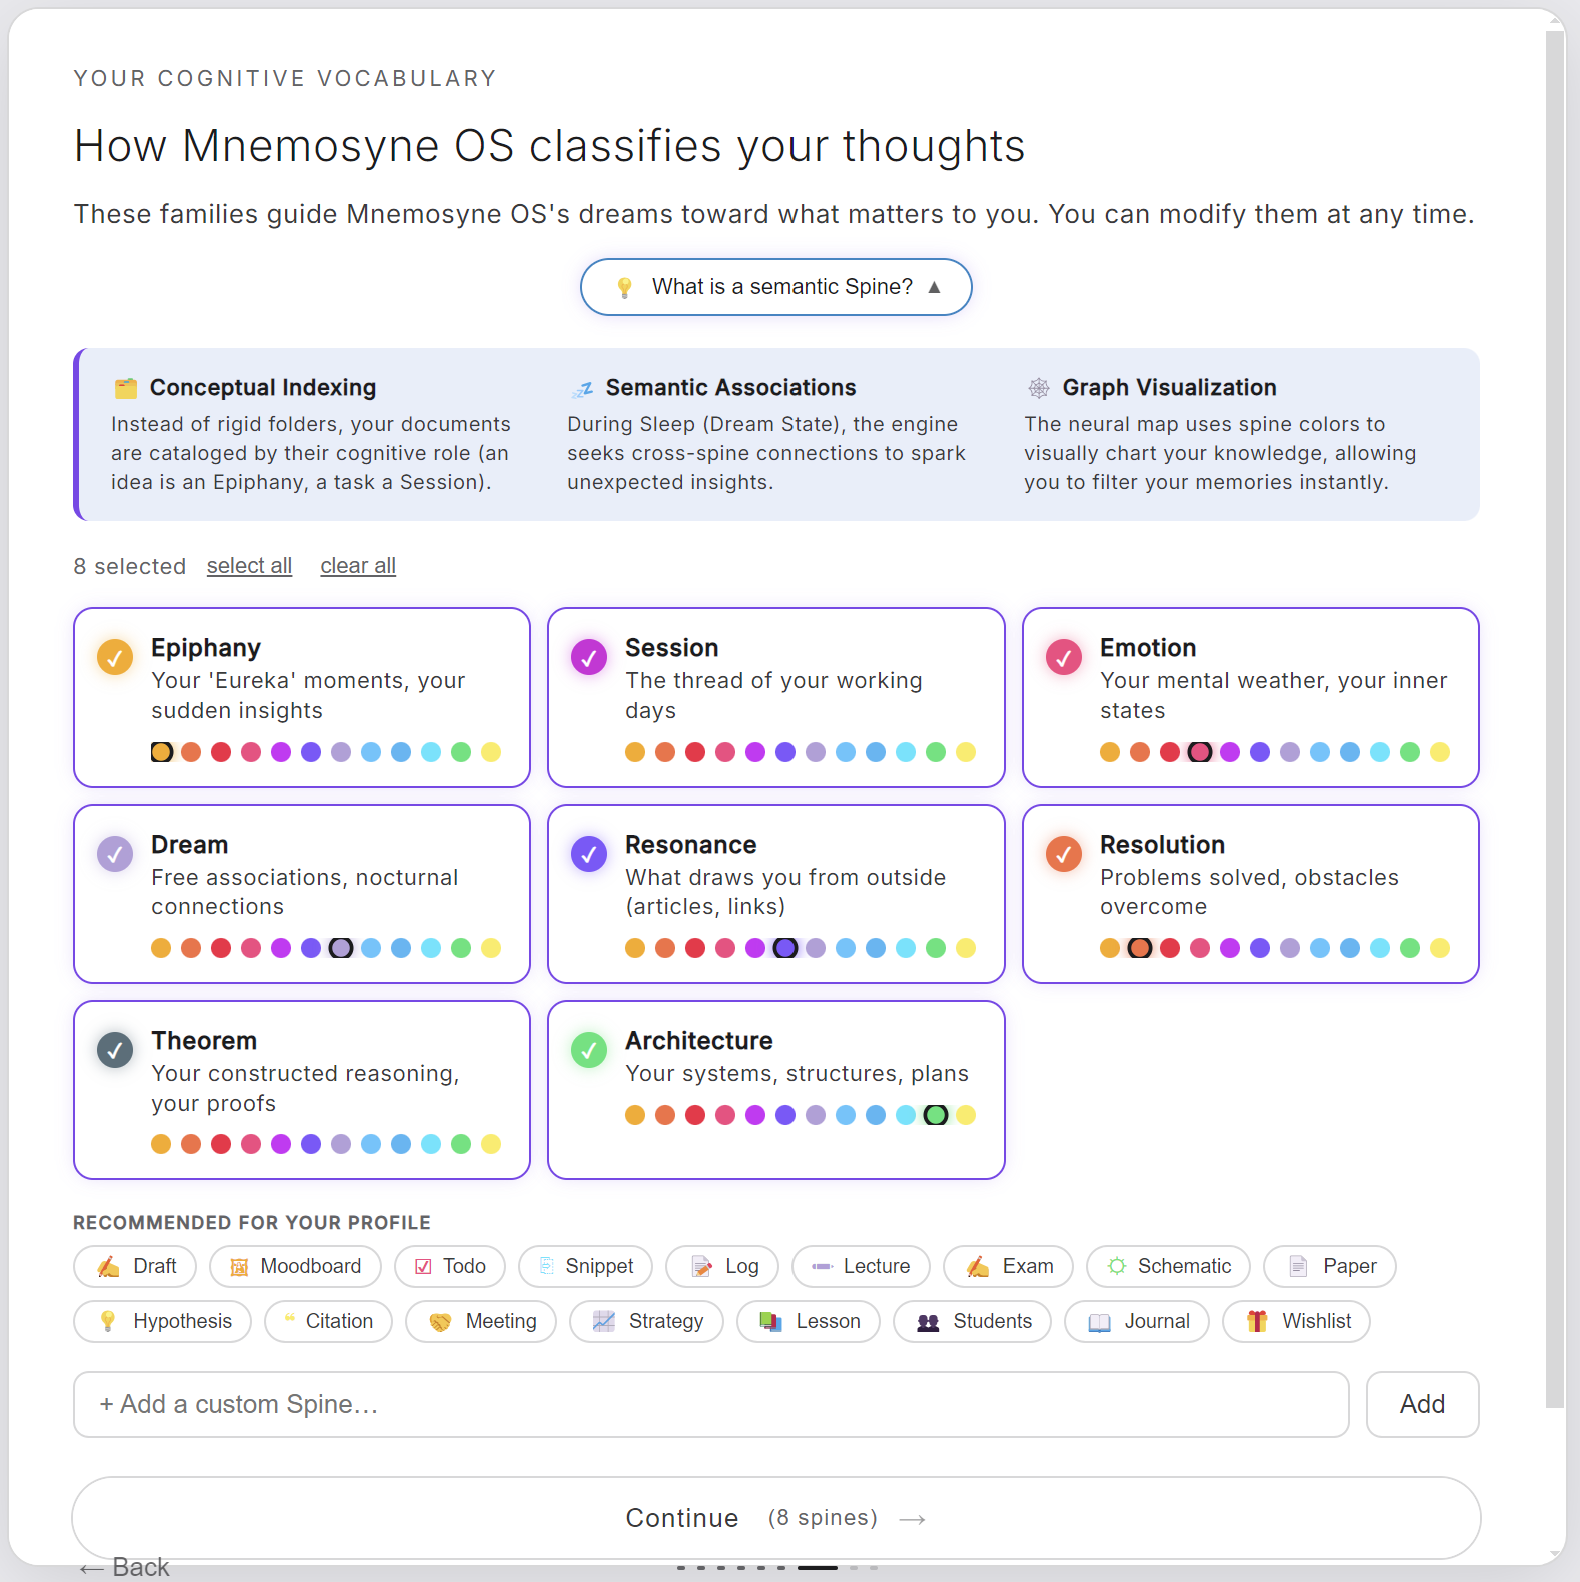
A set is preselected, more are recommended for your profiles, and you can add custom spines now or at any time.
- Choose where everything lives, and awaken her
The last step names your cognitive space: the root folder that will hold everything, vaults, conversations, settings, local memory.
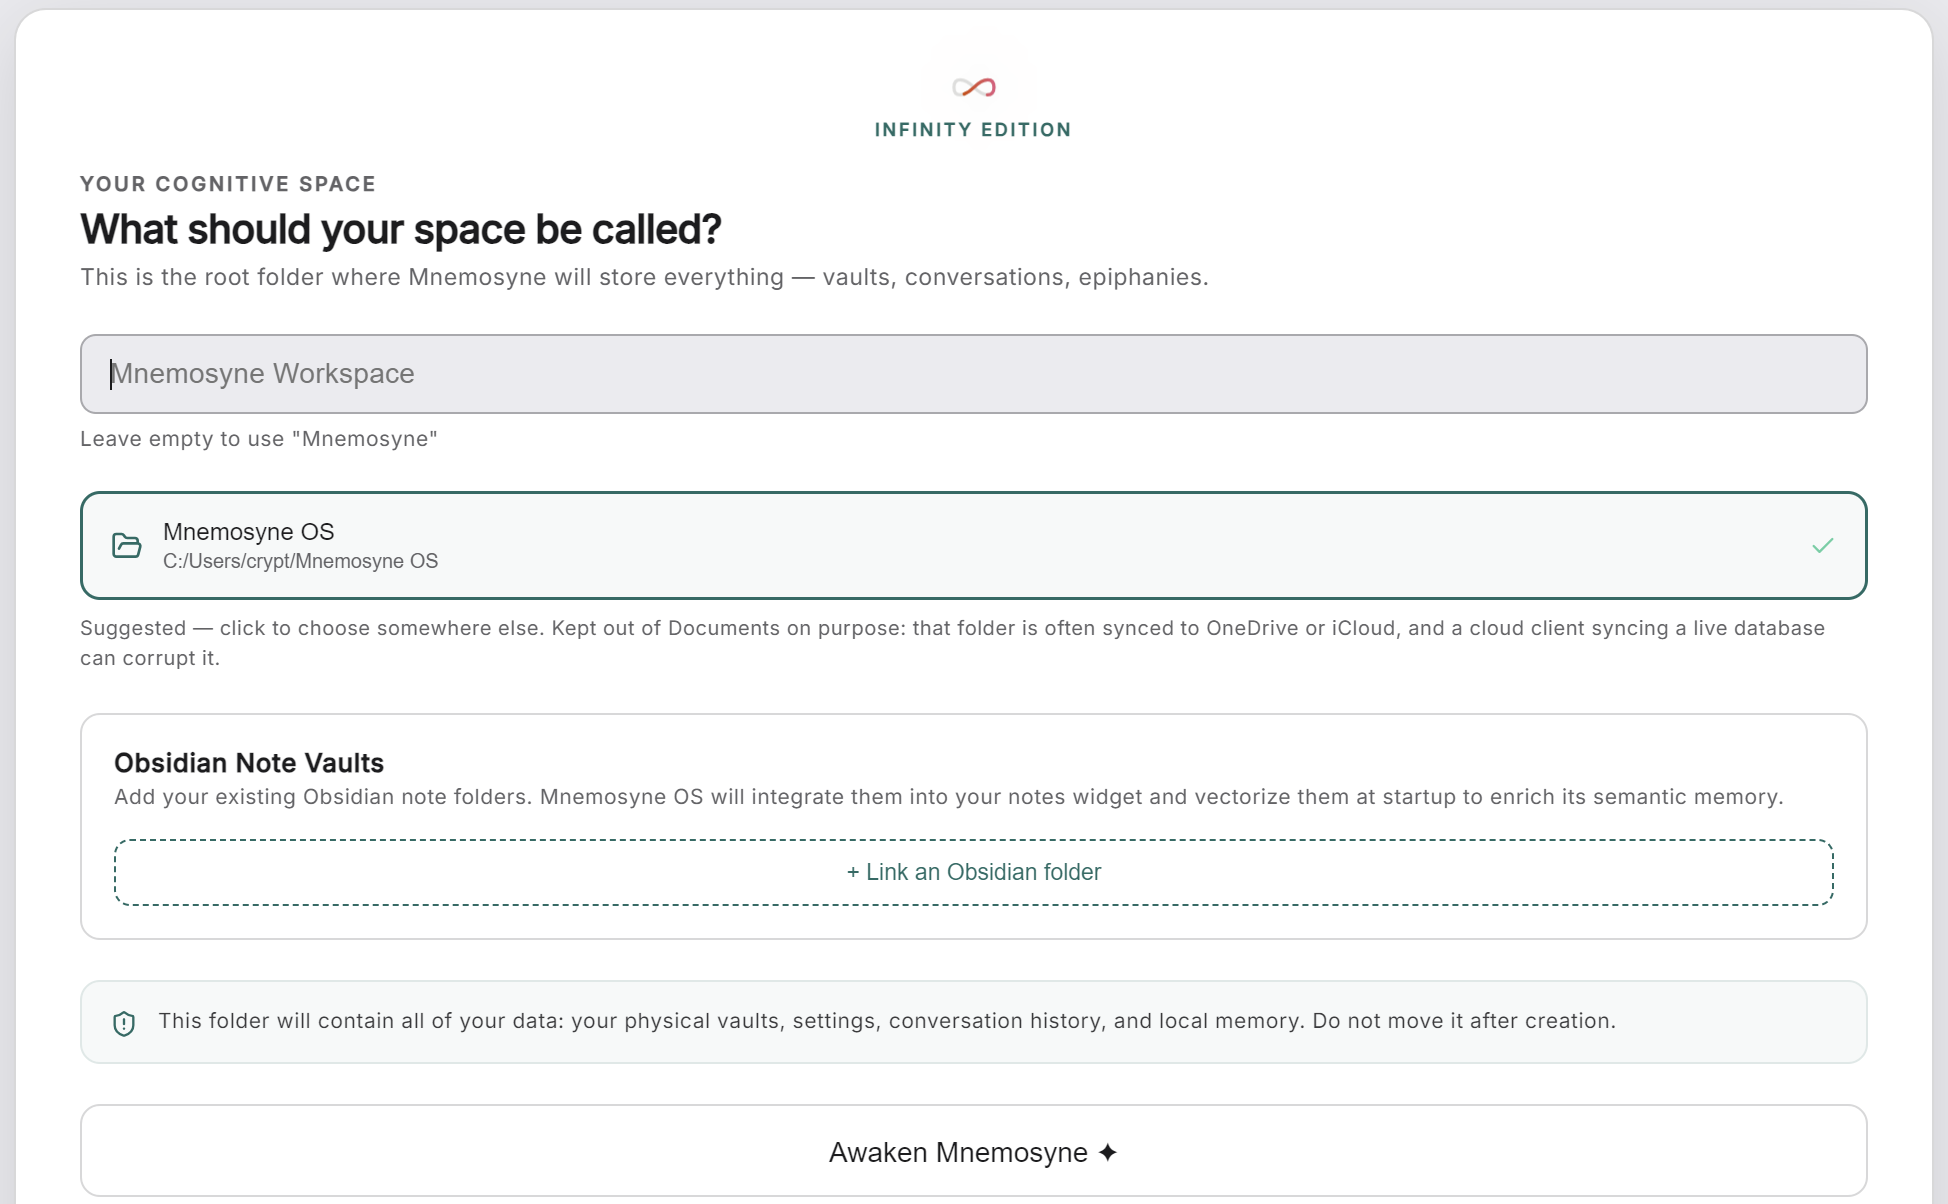
Two things matter here:
- The suggested location sits outside Documents. That folder is often synced by OneDrive or iCloud, and a cloud client syncing a live database can corrupt it. Accept the suggestion unless you have a good reason, and don't move the folder after creation.
- Bring your notes. Link your Obsidian folders, or any notes folder, and the OS integrates them into the notes widget and vectorizes them at startup to enrich its semantic memory. Point it at everything you have: this is exactly what it's for.
Then click Awaken Mnemosyne ✦.
Your first steps, guided
When the OS opens, a small Your first steps panel sits at the bottom left of the screen with five quests: choose your intelligence, create a vault, add documents, open a cartridge, ask your first question.
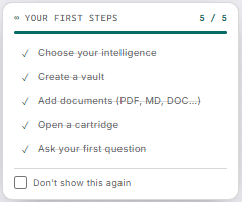
Follow its instructions. Each item checks itself off as you complete it, and the panel retires itself once all five are done.
The next pages of this guide walk the same path in detail: create your first vault, then your first conversation.